> ## Documentation Index
> Fetch the complete documentation index at: https://koreai-agent-management-platform-dev.mintlify.app/llms.txt
> Use this file to discover all available pages before exploring further.
# Configuring the Confluence Action
[Back to Actions Integrations](/ai-for-service/integrations/overview#actions)
Connect the XO Platform to Confluence to create and view pages or blogs in your Confluence space. See [Confluence documentation](https://support.atlassian.com/confluence-cloud/resources/) for details.
***
## Supported Authorization Types
The platform supports OAuth v2.0 for Confluence integration. See [App Authorization Overview](../../../dev-tools/bot-authorization/bot-authentication.md) for details.
| Authorization Type | Basic OAuth |
| ---------------------------------------- | ----------- |
| Pre-Authorize the Integration | Yes |
| Allow Users to Authorize the Integration | Yes |
Confluence integration can be authorized only for Developer and Enterprise editions. Trial edition is not supported. See [Confluence documentation](https://support.atlassian.com/confluence-cloud/docs/configure-confluence-cloud/) for details.
***
## Prerequisites
Before enabling Confluence actions:
* Create an Atlassian developer account.
* Create an OAuth app in Atlassian with permission: `write:confluence-content offline_access`. See [Atlassian OAuth documentation](https://developer.atlassian.com/cloud/jira/platform/oauth-2-3lo-apps/#overview).
* Copy the **Client ID**, **Client Secret Key**, **Authorization URL**, and **Callback URL**.
***
## Step 1: Enable the Confluence Action
Go to **App Settings > Integrations > Actions** and select **Confluence**.
### Pre-authorize the Integration (OAuth)
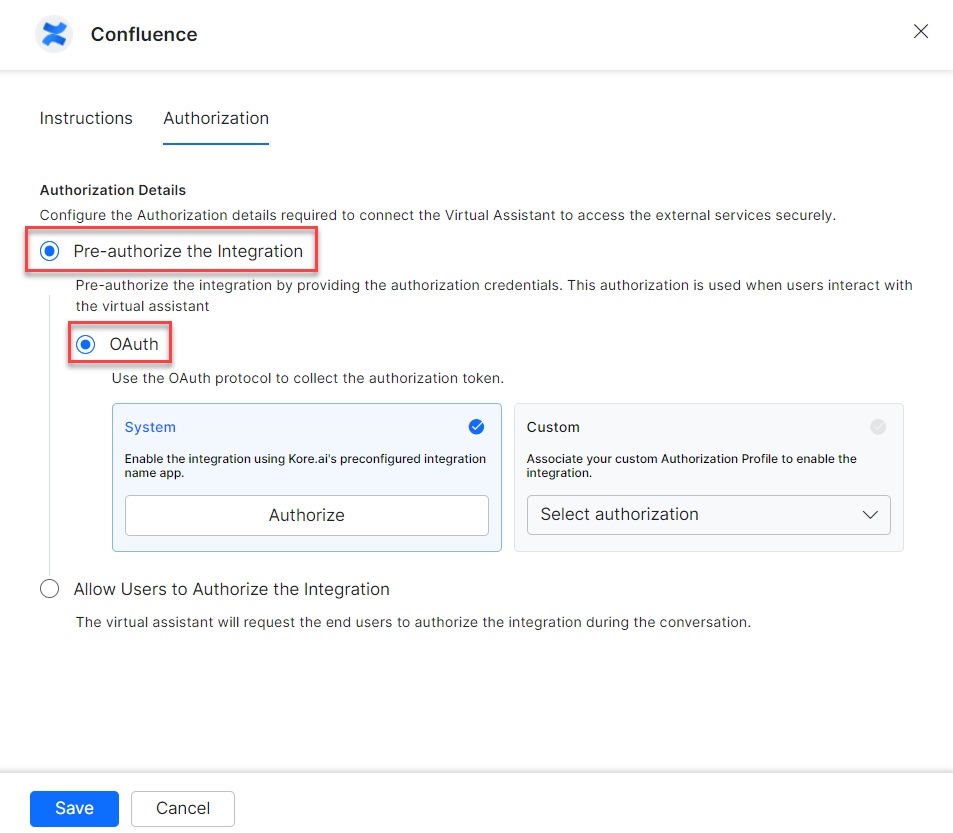
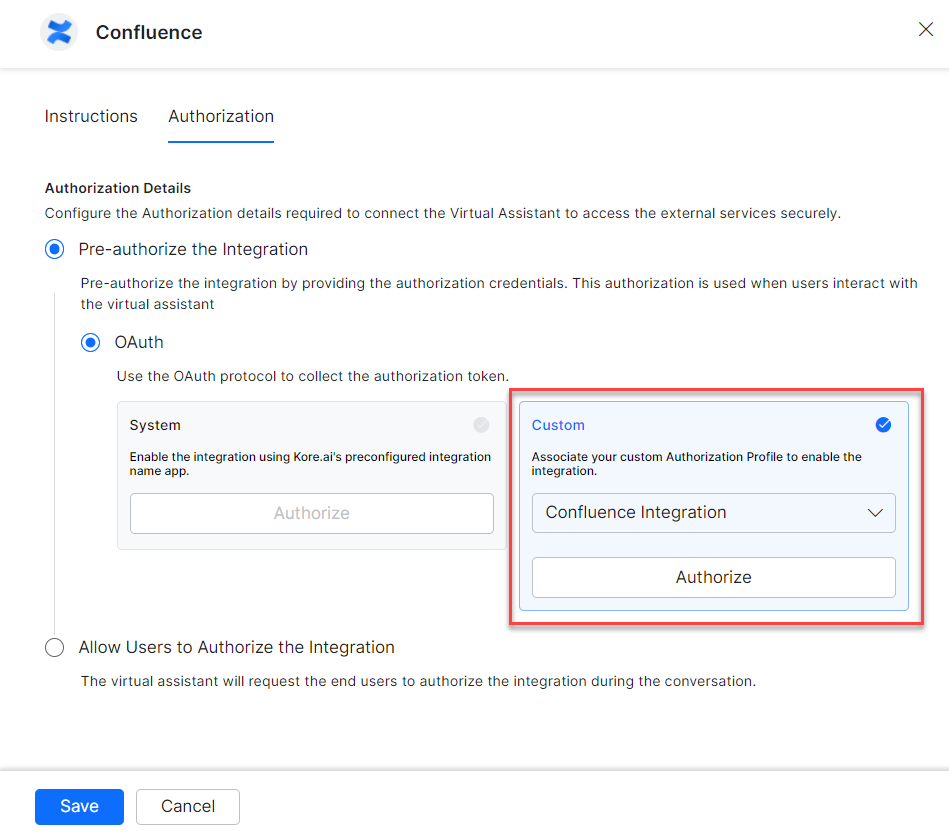
1. In the **Configurations** dialog, select the **Authorization** tab.
2. Set **Authorization Type** to **Pre-authorize the Integration** > **OAuth**.
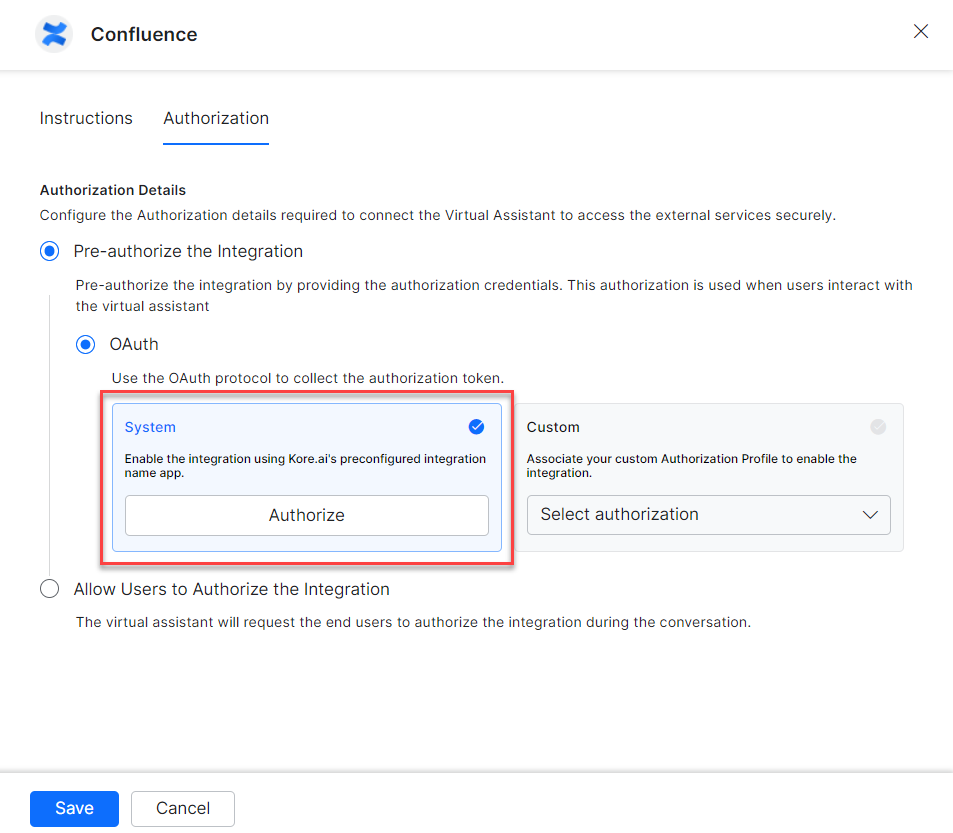
 **System Authorization**
Use Kore.ai's preconfigured Confluence app:
1. Select the **System** card and click **Authorize**.
**System Authorization**
Use Kore.ai's preconfigured Confluence app:
1. Select the **System** card and click **Authorize**.
 2. You are redirected to [https://auth.atlassian.com/authorize](https://auth.atlassian.com/authorize).
3. Enter your developer account credentials.
4. Click **Allow Access** to fetch the access token.
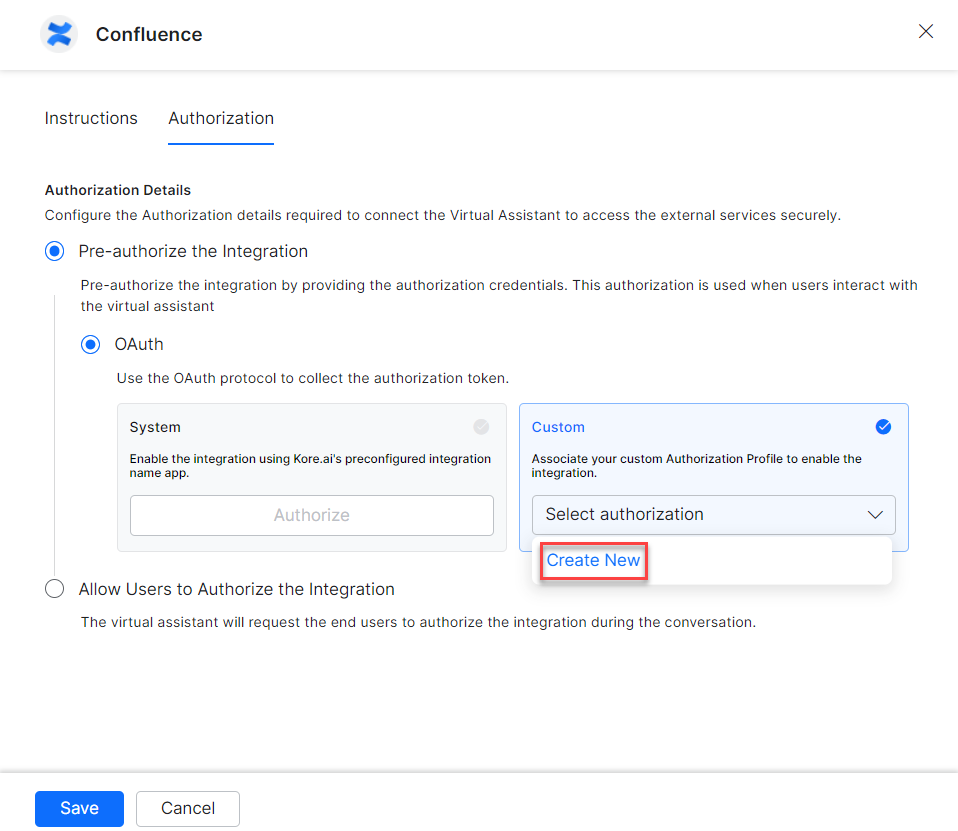
**Custom Authorization**
Create your own authorization profile:
1. Select **Custom** and click **Select Authorization** > **Create New**.
2. You are redirected to [https://auth.atlassian.com/authorize](https://auth.atlassian.com/authorize).
3. Enter your developer account credentials.
4. Click **Allow Access** to fetch the access token.
**Custom Authorization**
Create your own authorization profile:
1. Select **Custom** and click **Select Authorization** > **Create New**.
 2. Select the authorization mechanism (e.g., **OAuth v2**). See [Setting Up Authorization Using OAuth v2](../../../dev-tools/bot-authorization/setting-up-authorization-using-oauth-v2.md).
3. Enter the following credentials:
| Field | Description |
| ---------------------- | ----------------------------- |
| Callback URL | Your callback URL |
| Identity Provider Name | Name of the identity provider |
| Client ID | OAuth client ID |
| Client Secret | OAuth client secret |
| Authorization URL | Authorization endpoint URL |
| Token Request URL | Token request endpoint URL |
| Scope | Required OAuth scopes |
| Refresh Token URL | Token refresh endpoint URL |
2. Select the authorization mechanism (e.g., **OAuth v2**). See [Setting Up Authorization Using OAuth v2](../../../dev-tools/bot-authorization/setting-up-authorization-using-oauth-v2.md).
3. Enter the following credentials:
| Field | Description |
| ---------------------- | ----------------------------- |
| Callback URL | Your callback URL |
| Identity Provider Name | Name of the identity provider |
| Client ID | OAuth client ID |
| Client Secret | OAuth client secret |
| Authorization URL | Authorization endpoint URL |
| Token Request URL | Token request endpoint URL |
| Scope | Required OAuth scopes |
| Refresh Token URL | Token refresh endpoint URL |
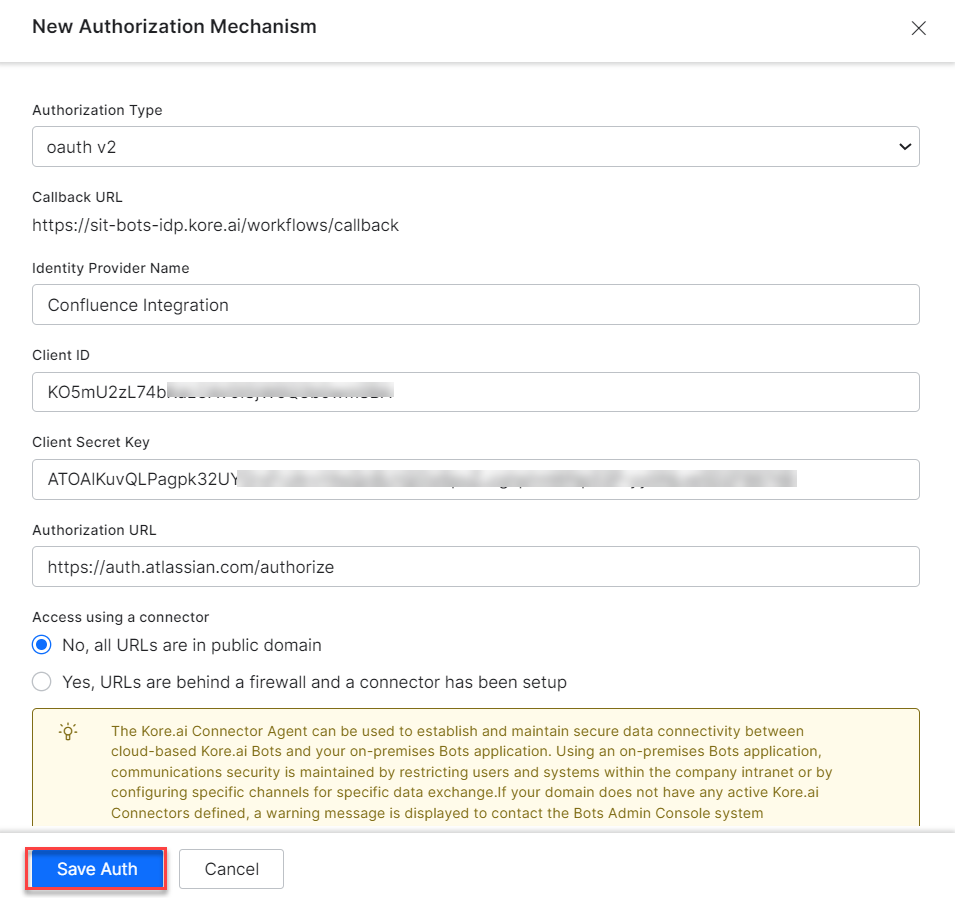 4. Click **Save Auth**, then select the new profile.
 5. Click **Authorize** and enter login credentials.
6. Click **Allow Access** if prompted.
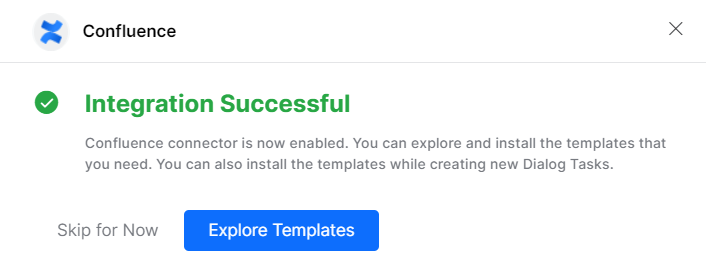
7. Click **Save**. The Integration Successful pop-up appears on first configuration.
5. Click **Authorize** and enter login credentials.
6. Click **Allow Access** if prompted.
7. Click **Save**. The Integration Successful pop-up appears on first configuration.
 The Confluence action moves from Available to Configured.
8. Click **Skip for Now** to install templates later.
### Allow End Users to Authorize (OAuth)
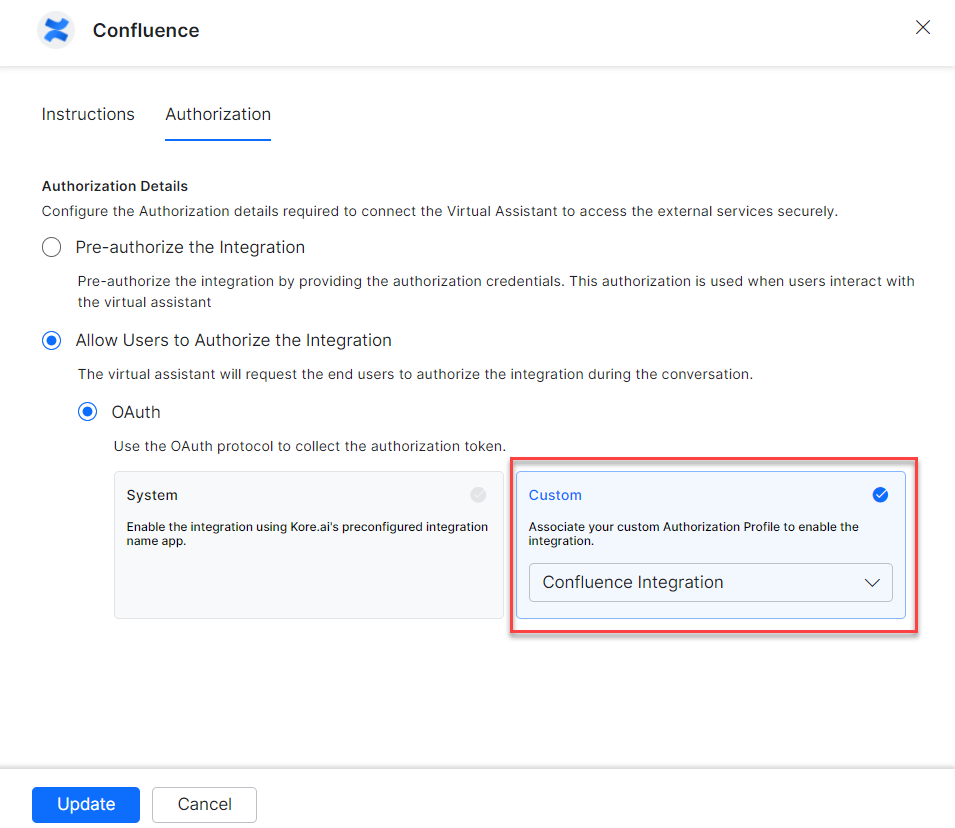
1. In the **Configurations** dialog, select the **Authorization** tab.
2. Set **Authorization Type** to **Allow Users to Authorize the Integration** > **OAuth**.
The Confluence action moves from Available to Configured.
8. Click **Skip for Now** to install templates later.
### Allow End Users to Authorize (OAuth)
1. In the **Configurations** dialog, select the **Authorization** tab.
2. Set **Authorization Type** to **Allow Users to Authorize the Integration** > **OAuth**.
 **System Authorization**
1. Select the **System** card.
2. Click **Enable** — a link is sent to the end user.
3. The user clicks the link and enters credentials to authorize.
**Custom Authorization**
1. Select **Custom** and click **Select Authorization** > **Create New**, following the instructions in the Custom Authorization section above.
2. You can also select an existing authorization profile.
**System Authorization**
1. Select the **System** card.
2. Click **Enable** — a link is sent to the end user.
3. The user clicks the link and enters credentials to authorize.
**Custom Authorization**
1. Select **Custom** and click **Select Authorization** > **Create New**, following the instructions in the Custom Authorization section above.
2. You can also select an existing authorization profile.
 3. Click **Enable**.
***
## Step 2: Install Confluence Action Templates
1. On the Integration Successful dialog, click **Explore Templates**.
3. Click **Enable**.
***
## Step 2: Install Confluence Action Templates
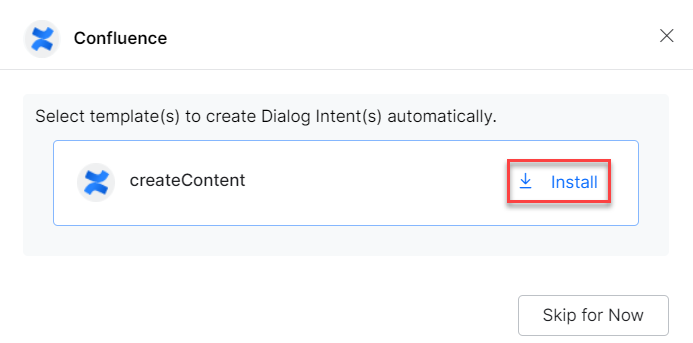
1. On the Integration Successful dialog, click **Explore Templates**.
 2. Click **Install** for the desired template.
 3. The associated dialog task is auto-created. Click **Go to Dialog** or navigate to **Automation AI > Use Cases > Dialogs**.
4. To use the templates, see [Using Confluence Action Templates](using-the-confluence-action-templates.md).
Built with [Mintlify](https://mintlify.com).
3. The associated dialog task is auto-created. Click **Go to Dialog** or navigate to **Automation AI > Use Cases > Dialogs**.
4. To use the templates, see [Using Confluence Action Templates](using-the-confluence-action-templates.md).
Built with [Mintlify](https://mintlify.com).